Everything you need to know about editing RAW images and working with RAW files
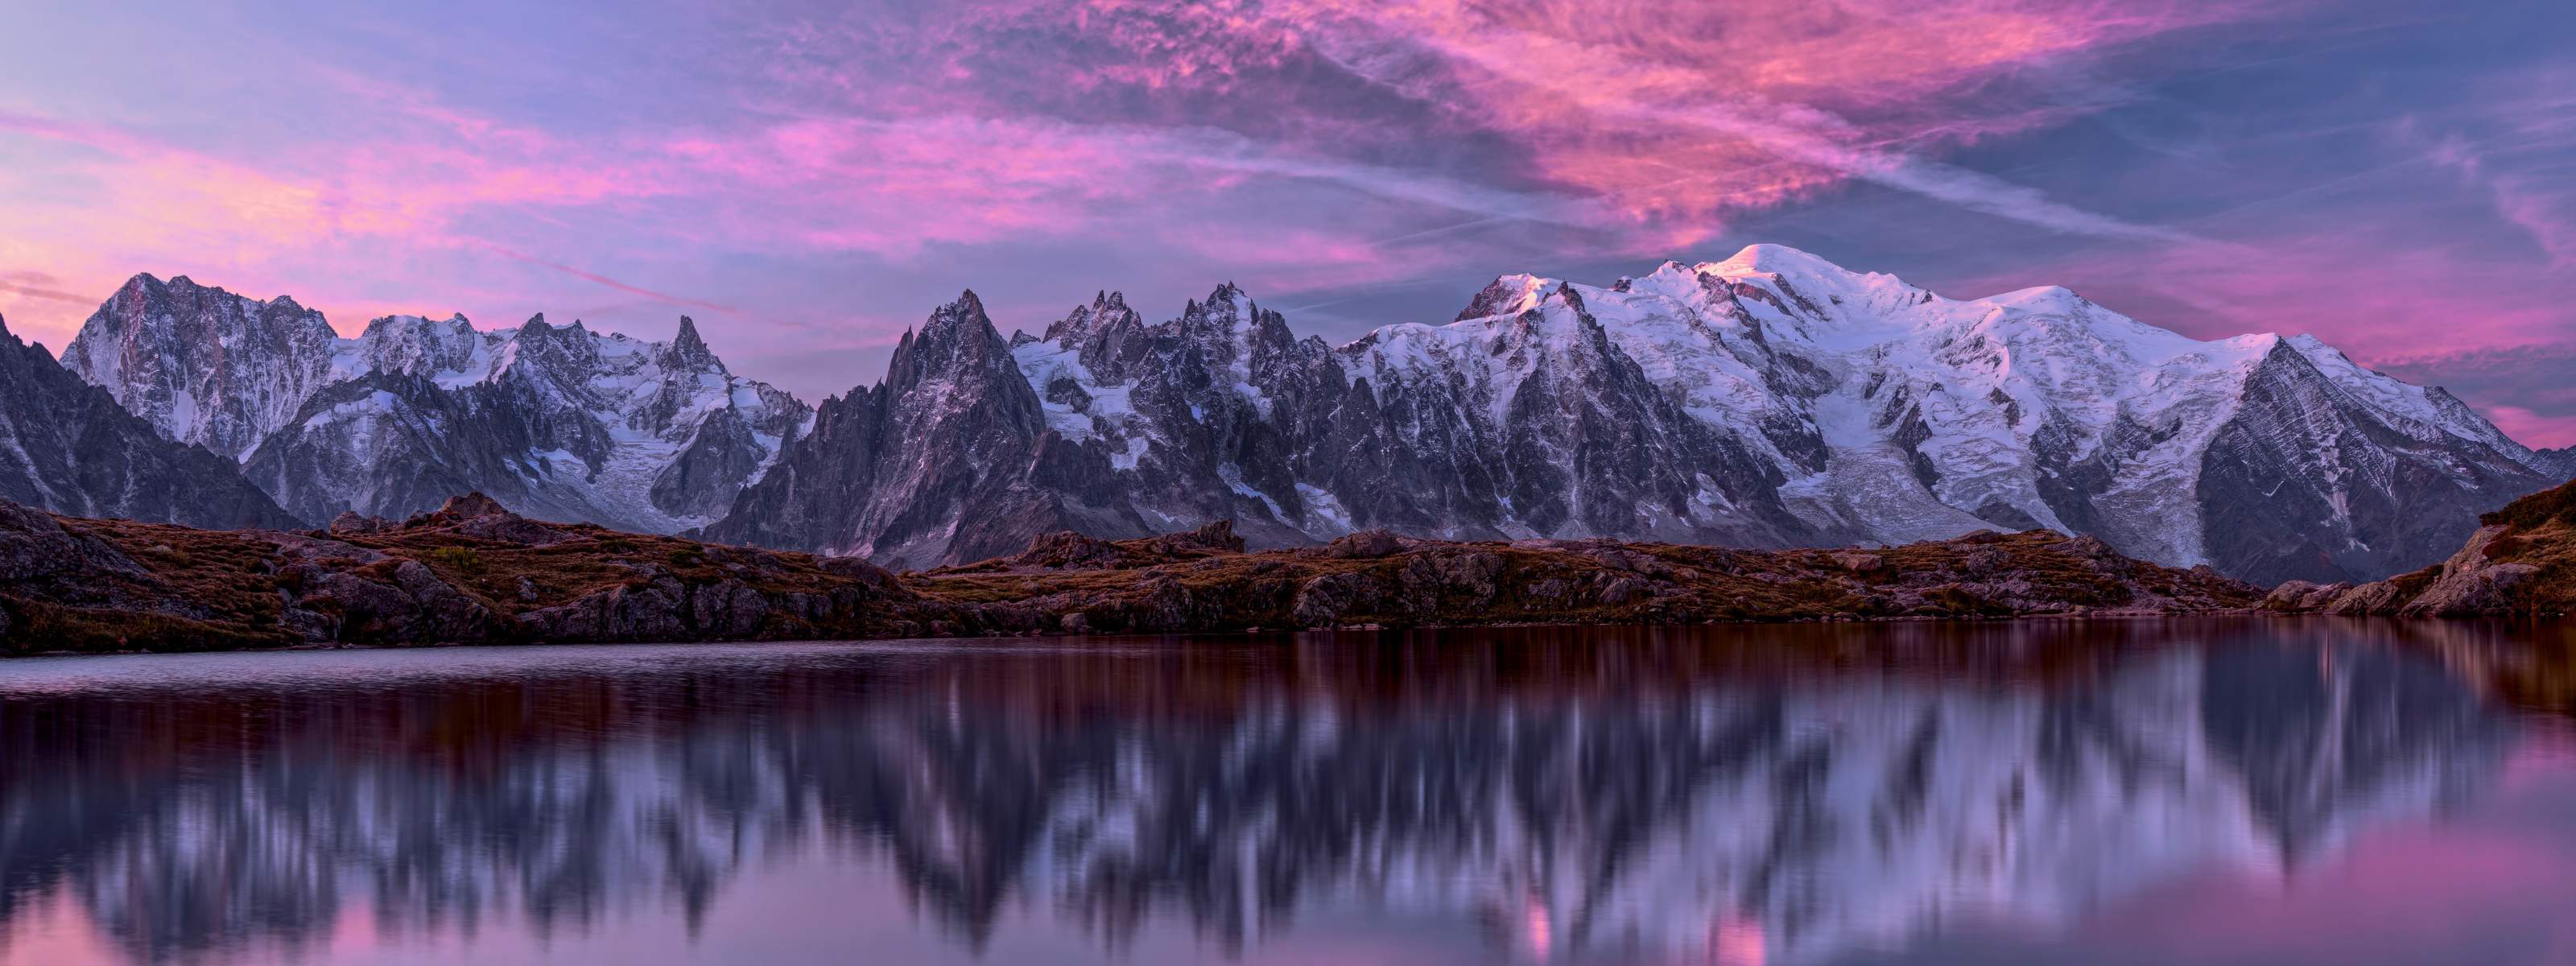
Imagine you have just come back from a shoot. You open up your memory card, look through your files, and instead of the photos you expected, you see a list of unfamiliar file extensions. CR2. NEF. ARW. You cannot see any thumbnail previews, and your usual apps cannot open them. Welcome to your first encounter with RAW files. So how do you tackle them?
This guide covers everything: what a RAW file is, how it compares to JPEG, how to edit RAW photos, and how to convert RAW to JPG.
What is a RAW file?
A RAW file is an unprocessed, uncompressed image file that contains all the data captured directly by your camera's sensor. Think of it as a digital negative: the raw information is all there, but it hasn't been developed yet.
Most importantly, a RAW file isn't a viewable image in itself. It must be processed and converted into a standard format, such as JPEG or TIFF, before it can be shared, printed, or viewed.
What is a RAW image format?
RAW isn't a single file format. It's an umbrella term encompassing a series of proprietary formats from different camera manufacturers. To open a RAW image, your software must support both the file format and the specific camera model that captured it.
Common RAW file extensions include:
- .CR2 / .CR3 — Canon
- .NEF — Nikon
- .ARW — Sony
- .RAF — Fujifilm
- .ORF — Olympus
- .DCR — Kodak
There's also .DNG (Digital Negative), an open standard that many cameras and apps use as a universal RAW format. Some cameras shoot DNG natively; others produce proprietary RAW files that can be converted to DNG for broader compatibility.
RAW vs JPEG: Which should you be shooting?
To settle the RAW vs JPEG debate, you should first understand what happens inside your camera the moment you press the shutter.
What happens when you shoot JPEG
When you shoot in JPEG, your camera automatically processes the sensor data. It applies noise reduction, sharpens the image, adjusts white balance and color, then compresses everything into a compact file using lossy compression. The result is an image that's ready to use immediately, but one where those in-camera decisions are baked in permanently.
JPEG files are smaller (typically 2–6x smaller than RAW), faster to write to a memory card, and can be shared or uploaded straight away without any extra software.
What happens when you shoot RAW
When you shoot in RAW, none of that in-camera processing happens. You receive everything the sensor captured — all 12 to 14 bits of color and tonal data — untouched and ready for you to develop exactly the way you want.
That extra data is what makes RAW so powerful for editing. You can recover details in overexposed areas, brighten dark parts of the image, and correct colors if the white balance was wrong. All of these are much more achievable with RAW files than with JPEGs, because the information was never discarded in the first place.
The tradeoff is that RAW files are large, require dedicated RAW photo editing software to open, and can't be shared immediately without conversion.
So, which should you choose?
- Shoot RAW if you're working on landscapes, portraits, or any image where you'll spend time in post-production and want maximum quality and flexibility.
- Shoot JPEG if you need to share photos quickly, have limited storage, or are shooting in a fast-paced situation like sports or events where volume matters more than editability.
- Shoot RAW + JPEG if you want the best of both worlds. Many cameras offer this simultaneously, so you can share JPEGs immediately while retaining the RAW files for later editing.
Working with RAW files: What software do you need?
Unlike JPEGs, RAW data requires dedicated software for interpretation. The software reads the raw sensor data and determines how colors, contrast, and detail should be rendered. It also enables non-destructive editing, meaning every adjustment you make is stored as a set of instructions rather than applied permanently to the original file.
Several RAW photo editing software are available, ranging from free open-source tools to professional desktop software. For the rest of this guide, we'll focus on working with RAW files in Affinity, a full-featured creative suite that includes a dedicated RAW processing environment - the Develop Studio - alongside Pixel Studio, Layout Studio, and Vector Studio.
Editing RAW photos in Affinity
Affinity supports non-destructive photo editing by default. When you open a supported RAW file, it automatically launches in the Develop Studio, a purpose-built environment for processing RAW images.
Opening a RAW file
- Go to File > Open.
- Select your RAW file and click Open.
- The file will open automatically in the Develop Studio.
- Choose your preferred view mode from the toolbar: before/after slider, side-by-side, or normal view.
Editing your RAW image in the Develop Studio
Affinity's Develop Studio organizes its controls into panels on the right-hand side, with corrective tools on the left.
Basic panel
- Exposure: includes exposure, blackpoint, and brightness sliders.
- Tone Curve: allows you to set the tonal treatment for your image.
- Enhance: lets you adjust the contrast, clarity, texture, saturation, and vibrance of your image.
- White Balance: lets you adjust the temperature and tint to correct the color of your light source. Use the White Balance tool (pipette) by clicking on a neutral grey or white area in the image for automatic correction.
- Shadows & Highlights: deepens the darkest areas of the image.
- Profiles: let you choose the output color profile when developing the image. Its default is sRGB.
Lens panel
Affinity reads lens data from your file's metadata and applies automatic corrections. You can also manually correct distortion, rotation, chromatic aberration, defringing, and lens vignetting.
Detail panel
You can apply noise reduction, addition, and sharpening here. The Develop Assistant window offers one-click noise reduction options (color or color/luminance). You can also switch between Affinity's RAW engine and Apple's.
Tones panel
Make tonal curve adjustments, apply black-and-white conversions, and split toning here.
Masks panel
Apply selective adjustments using brush or gradient masks — ideal for targeting specific areas, such as skies or subjects, without affecting the whole image. If you select the Brush Mask tool from the left-side toolbar and begin painting over an area of your image, a new brush overlay will automatically be created in the overlays panel. Switch back to the Basic panel, and any adjustment you make (e.g., Saturation) will apply only to the area you brushed over.
Output options
When you're done editing, choose how to output your developed image by clicking on the Output dropdown menu in the top-left corner:
- Pixel layer — flattens your edits into a pixel layer (destructive)
- RAW layer (embedded) — creates a non-destructive RAW layer with the RAW file copied into the document
- RAW layer (linked) — creates a non-destructive RAW layer while keeping the RAW file in its original location
Click Develop on the context toolbar, and your image will open up in the Pixel Studio, where you can make further adjustments. Your original RAW file will never be altered. For more in-depth information, visit Affinity's Help Center articles about opening a RAW file and developing RAW images.
How to convert RAW to JPG
Once you've edited your image in the Develop Studio and clicked Develop, exporting to JPEG is straightforward.
Converting a single RAW file to JPG in Affinity
- Go to File > Export.
- Select JPEG from the format options.
- Choose a quality preset (e.g., Best Quality) or manually adjust the quality slider.
- Set the ICC profile to sRGB if your image will be displayed on screens, web browsers, or shared widely — this ensures consistent color across different devices.
- Click Export, choose your save location, and click Save.
Note on JPEG quality: JPEG is a lossy format, meaning image data is discarded to produce a smaller file. If you need to edit the image further after exporting, use TIFF instead; it's lossless and preserves all color and tonal data. It is also the file format professional printers prefer for its uncompressed data and its ability to produce high-quality images on paper or other media.
Batch converting RAW files to JPEG
If you need to convert a whole shoot's worth of RAW files to JPG at once:
- Go to File > New Image Process > Batch Job.
- Click Add below the Sources list.
- Select all the RAW files you want to convert and click Add.
- Configure your output settings (format, quality, color profile, destination folder).
- Click OK to start the batch conversion.
Affinity will automatically process and export all selected files. If you would like more information, you can read more in the Affinity Help Center.
What to check before converting RAW files to JPEG
- Quality setting: higher values mean larger files but better image quality
- Color profile: use sRGB for web and general sharing; a wider color profile (such as ProPhoto RGB) if handing files to a print lab that requests it
- Lossy compression: accept that some quality loss is unavoidable with JPEG; it's usually imperceptible at high quality settings
- File naming: consider using a consistent naming convention when batch converting to keep your library organized
The bottom line
RAW files give you the highest possible image quality and editing flexibility, but they come with larger file sizes and the requirement for dedicated RAW photo editing software. JPEG is convenient and immediately shareable, but you trade off the editing possibilities that RAW preserves.
Working with RAW files follows a simple workflow: open in RAW photo editing software, make your adjustments non-destructively, then export RAW to JPG when you're done. Your original file stays intact throughout, keeping your options open. You can always go back, reinterpret the image, or export to a different format without ever degrading the source. Once you've developed the RAW file, that's exactly where color grading and color correction pick up to shape the final look.
If you’re ready to start developing your RAW files, try Affinity's photo editing software and see all that’s possible.


