How to shoot golden hour, blue hour and twilight photos
Golden hour, blue hour, and twilight offer some of the most atmospheric lighting conditions in photography. These short windows can dramatically change the mood of a scene, and understanding how each one behaves will help you capture stronger images.
Why these lighting moments matter to photographers
Almost every photographer has a favorite time of day, but for a select few, the right timing becomes a cornerstone of their artistic practice.
For renowned American photographer William Eggleston, it was the golden hour, when warm rays of light made even the most mundane spaces pulsate with heat and magic. For Gregory Crewdson, it’s often twilight, when the darker, eerie colors lend his photographs a distinctly mysterious and cinematic undertone.
These moments show how powerful light can be in shaping both mood and meaning in an image.
Golden hour vs blue hour: what’s the difference?
The terms ‘golden hour’ and ‘blue hour’ can be a little misleading. They rarely last a full hour, and in some locations, they pass in just fifteen minutes.
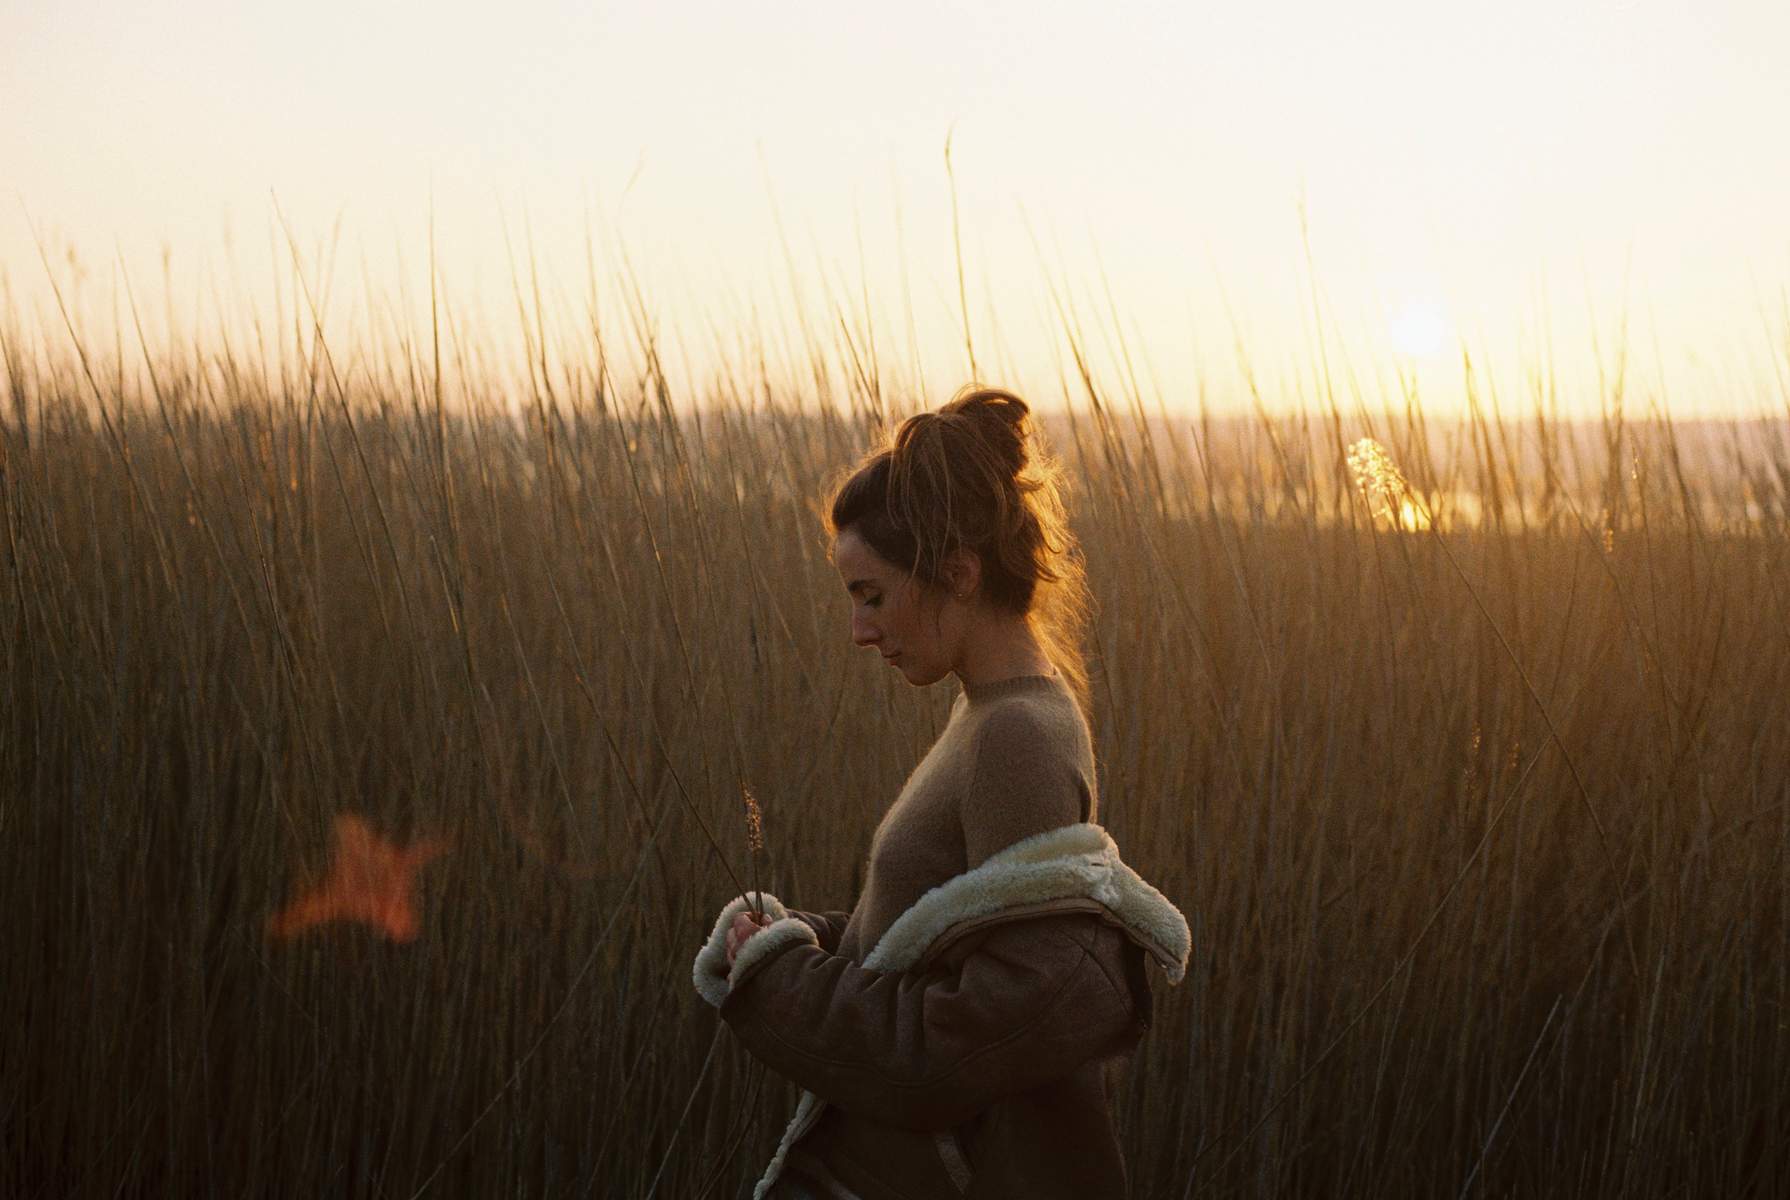
Golden hour happens just after sunrise and just before sunset, when the sun sits low on the horizon and casts that warm, golden glow. Blue hour takes place shortly before sunrise and just after sunset, when the sun dips below the horizon and cooler tones take over.
These fleeting moments have inspired artists for centuries. Each one brings a different mood, but both create that ethereal, and sometimes otherworldly atmosphere, and both call for many of the same techniques.
We asked eight photographers who specialize in golden hour, blue hour, and twilight to share their go-to methods for capturing the magic. Here’s what they said.
Plan and prepare for the right light
1. Scout your location
“I suggest planning ahead and scouting any locations you’d like to come back to during the golden hour or blue hour,” the Los Angeles-based photographer Nick Rufo tells us. “I often come across a scene that I know has potential, but I’m seeing it in the middle of the day and can’t find an interesting way to shoot it, so I will plan to come back to it.
“Shooting during these two times of day can be difficult because the sun moves quickly, so if you aren’t in the right place at the right time and fully focused, you might miss what you came for. These are obstacles that will always be there, and you just have to adapt to them, but scouting always helps.”
2. Get there an hour early
“I recommend taking into account at least one or two hours before the blue hour or golden hour, so you can practice your shots beforehand,” the photographer and director Marina Monaco explains.
“The biggest challenge lies in determining where the best spot and angles are. Try to choose a spot where you have an open sky. I do not recommend a location that has something that casts large shadows, because there will probably not be enough light to get a good exposure.
“It’s best to find your spot at the beginning of the shoot. You have to get into the habit of imagining what a location will look like during the blue or golden hour in advance so that you’re prepared when it happens.”
Apps like PhotoPills and The Photographer’s Ephemeris will give you up-to-date information on the sunrise and sunset times in your area, helping you to plan for blue or golden hour.
Understand your camera and exposure
3. Know your camera
Some cameras work better in low light than others, so it’s important to know the limitations of your gear. “From a technical viewpoint, my main tip would be to try and understand the camera and, if you’re shooting analog, the film you’re shooting with,” the Wales-based photographer Lena Jeanne tells us.
“In tough low light conditions, I need to know what my camera can do: Will I get camera shake if I shoot at a lower speed? Can I focus accurately? Can this film stock capture the color I want? Once I’m confident that I have the right equipment for the job, then I can focus on making the image I want.” Don’t be afraid to experiment with a few different rental options to see what works.
4. Check your exposure regularly
“It’s easy to forget about checking your exposure more often at this time, but it’s changing rapidly, even though you might not notice it,” the Alberta-based photographer Sandy Phimester explains. “Paying attention to how colors change in this kind of light is so important and the most interesting aspect to keep in mind, no matter what you’re shooting or how.”
5. Learn to shoot in manual mode
“Shoot in manual mode,” the Paris-based photographer Anaïs Duvert urges. “That’s the best way to explore and develop your aesthetic, and it’s the first step toward improving your photography.”
Working in manual mode will give you full control over your exposure and creative aspects like depth of field, grain, and motion blur. Of course, you can always “break the rules” with interesting compositions, underexposure, and unconventional effects, but it helps to understand how each of your settings influences the mood and aesthetic of the final photo.
6. Watch your white balance
On digital cameras, auto white balance works well in most situations, but it’s not ideal for the blue hour or golden hour. In auto mode, your camera will try to neutralize those uniquely warm or cool tones, so set your white balance manually or use a preset like Tungsten or Shade. You can also enter it in degrees Kelvin. Decreasing the Kelvin value adds blue; increasing it adds orange.
Choose the right gear and techniques
7. Select a fast lens
“Particularly for blue hour, when you’re shooting in low light conditions, your lens needs to have larger apertures, like f/1.2, f/1.4, or f/1.8,” Marina tells us. “This will give you more flexibility and more time to shoot.” You can increase your ISO or decrease your shutter speed if you’re not getting enough light, but these changes may introduce noise or motion blur, so opening up your aperture is the best place to start.
There’s another creative benefit of shooting this way. A wide apertune gives you a shallow depth of field, which can add visual interest to portraits and scenes. “If you choose a background with a lot of colored highlights, your photograph will have a lot of bokeh,” Marina adds.
8. Stay still (or use a tripod)
“It might sound obvious, but if you want to shoot in low light, it’s really important not to move,” Anaïs advises. “It’s best to have a tripod, but it’s not always necessary. I started shooting at night by holding my breath! I sometimes got blurred pictures, but I tried to play with that. I think the habit of holding my breath and trying to stay immobile might have helped me to stay focused in the moment; my body and my mind just adapted to the challenge.”
9. Beware of squinting eyes
“Golden or magic hour can sometimes cast dappled light, so if you’re shooting portraits, make sure the shadows hit the right spot on a person’s face,” the Melbourne-based photographer Abigail Varney advises. “Often, your subject needs to be in the direct sun rather than backlit. Here, the challenge then becomes dealing with squinting eyes, so it’s best to turn your subjects to the side so they aren’t looking straight into the light.”
10. Carry a reflector
“When it comes to capturing a portrait during this time of day, it might be hard to fill shadows on your subject’s face,” the Athens-based photographer Bill Thanopoulos, who favors blue hour, tells us. “A reflector will do the trick if you are near a light source, maybe a colorful one.” You can also get gold or silver reflectors to enhance the effect of golden or blue hour, respectively.
Make the most of fleeting light and unexpected moments
11. Take as many photos as possible
“Running out of time is my biggest challenge in this kind of light,” Sandy says. “I can’t tell you how many times I’ve realized I should have doubled down and captured more images. I think I’m guilty of enjoying the moment maybe a bit too much. Being mindful is an important thing in all aspects when enjoying your photography.”
12. Embrace imperfections (and unpredictable weather)
While many of our tips have revolved around careful planning, sometimes spontaneous shoots —inspired in an instant by a trick of the light — can be just as powerful. “I don’t like to be too ‘prepared’ before a photoshoot,” Bill admits.
“I love those unexpected scenes that you don’t have to look for. Of course, sometimes I do check the forecast, but I prefer to shoot when I know that the weather will suddenly change. It’s interesting to notice and try to capture how people are also changing as the weather turns.
“At the end of the day, you don’t always have to worry about having the best gear (lenses, tripods, etc.) to shoot at this time of day. Sometimes, grainy or blurry images give you a mysterious feel, and in this kind of photography, that’s what it’s all about.”
13. Capture emotions
While many of the photographers we spoke with offered practical and technical advice, they consistently emphasized the importance of emotion and atmosphere in golden hour and blue hour photography. These qualities are often what make a blue hour portrait feel lonely or reflective and a golden hour image feel warm, dreamy, or romantic. Paying attention to these emotional cues can help you create photos that convey a mood more deeply.
“I would love to see more portraits set in the golden hour and blue hour,” the Italian photographer Maria Maglionico tells us. “During these times of day, everyone has a different kind of aura. In the golden hour, for example, the softer light makes photos feel more intimate, and it makes people feel more reachable. It is difficult to explain, but during certain times of day, it seems as though everyone and everything is unveiled. If you are lucky enough, you can get a glimpse of that inner world.”
Conclusion
Golden hour, blue hour, and twilight each offer their own challenges, but they also open the door to some of the most expressive and atmospheric photography you can create. With thoughtful planning, an understanding of how light shifts, and a willingness to experiment, these fleeting moments can transform both your images and your creative process. Whether you’re drawn to warm, dreamy tones or cool, cinematic scenes, use the guidance from the photographers in this article to help you make the most of these magical times of day.
About the contributor
Feature Shoot showcases the work of emerging and established photographers worldwide, highlighting those transforming the medium through compelling, cutting-edge projects, with contributions from writers from all over the world.


