7 ways to automate tedious design tasks with Affinity and Claude
Design isn’t the slow part anymore. It’s everything around it.
Renaming layers, resizing assets, cleaning files, exporting versions, packaging work for handoff. All the small, repetitive steps that break your flow and quietly eat into your time.
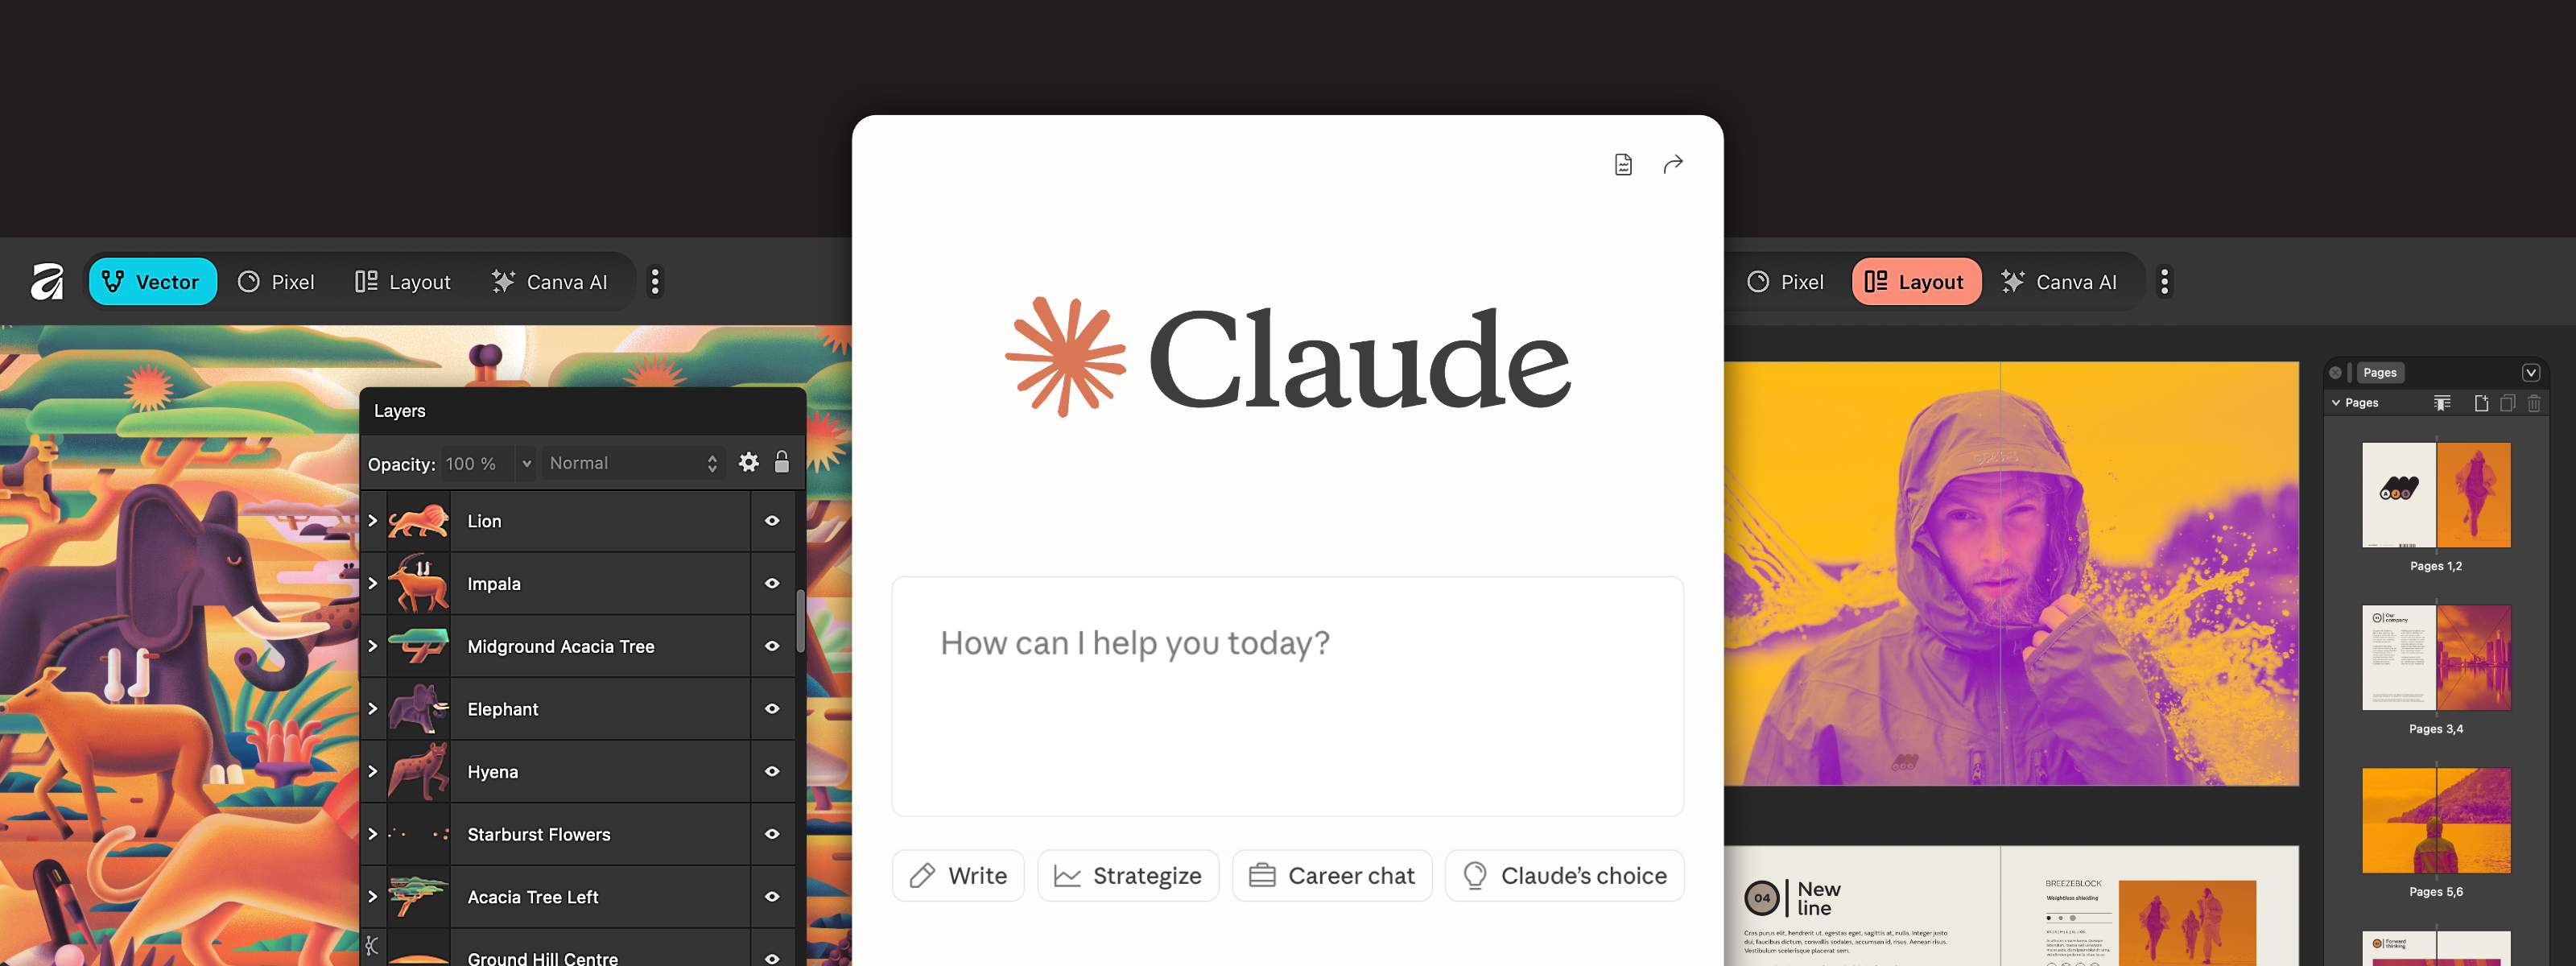
Now you can describe those steps once and let Affinity handle the rest with Affinity’s new AI Connector for Claude.
But it isn’t just about working faster. It’s a shift in how the work gets done. Instead of clicking through tools and repeating the same actions, you can simply tell Claude what you want and it takes care of it, right inside Affinity.
Over time, you start building reusable ways of getting things done, shaped around how you like to work. And when you need something that doesn’t exist yet, you’re not stuck waiting. You can create it.
We’ve already seen some epic use cases from the community and we can’t wait to see what you create!
Here are seven ways it makes a real difference.
Before you start: a few tips for working with Claude
It helps to think of Claude less like a one-shot prompt tool, and more like something you work with. Treat it as a back-and-forth, adjusting, refining, and shaping the behavior until it does exactly what you need.
Once you’ve created something, you can expand it. Ask for variations, improvements, or related features, and you’ll often find that one simple idea turns into a whole set of useful workflows.
You can also start more broadly. If there are things you wish you could do, list them out and let Claude suggest features to build. It’s a great way to uncover ideas you might not have thought of, and turn them into something you can use.
The more you use it this way, the less it feels like a tool, and the more it becomes part of how you work.
1. Rename your layers and artboards automatically
Messy documents slow everything down, especially when it comes to handoff.
Instead of manually renaming everything, you can ask Claude to generate clear, consistent layer and artboard names for you, turning a messy file into something organized and production-ready in seconds.
It’s a small change, but it can save a huge amount of time, especially when you’re working with files that contain hundreds of layers.
2. Batch resize and reformat for every channel
Designing for one format is simple. Designing for ten is where things start to drag.
When you’re working across campaigns, you often need multiple versions for social, print, and web. That usually means exporting the same design at different sizes and specs.
Instead of rebuilding or exporting each one manually, you can ask Claude to generate everything from your master document in one go, without breaking your layout. It cuts out the repetition and frees up time for more important work.
“If AI can resize and do the tedious work for me, then that's a huge benefit. It means I can focus on the fun creative part and let AI take care of the rest.”
3. Make bulk adjustments inside a document
Claude is just as useful when you need to make large-scale changes.
If you need to adjust the tone of images across hundreds of pages, doing it manually could take hours. Instead, you can describe the change once and have it applied non-destructively across the entire document in seconds.
And it’s not limited to image edits — there are tonnes of applications. If you work with grids, for example, you can ask Claude to apply spacing rules across all pages or only selected ones, aligning elements and text frames instantly. For things like brochures and catalogs, that’s the kind of task that usually eats time, and now it doesn’t have to.
“When you apply these bulk edits, they’re done non-destructively, the way a professional designer would work. So you can always go in and tweak them yourself.”
4. Clean and optimize vector paths for export
Cleaning up SVGs before handoff is one of those jobs that always takes longer than it should.
There’s usually a checklist involved. Removing extra anchor points, simplifying paths, stripping unnecessary data, and standardizing units.
Instead of working through all of that every time, you can describe what you need once and let Claude handle it, leaving you with a clean, production-ready file.
5. Prepare files for client delivery in one go
Getting files ready for a client usually means exporting, renaming, and packaging everything properly. The time it takes quickly adds up.
Instead of working through it step by step, you can describe the whole process in one go:
“Export this as print-ready PDFs and PNGs, name everything to the client convention, and package it into a single folder.”
Claude handles the mechanics, leaving you with files that are ready to go straight from your desktop.
6. Build your own features
This is where things really open up. You don’t have to wait for the right feature anymore.
With the AI Connector, you can define your own features based on the way you actually work.
Whether it’s a pattern generator, a texture mapping tool, or custom vector effects, you can describe what you want and have it built for you.
In the example shown, a simple prompt creates a pattern generator with adjustable controls. The interface is generated dynamically, and you can save it to the Scripts panel to reuse whenever you need it.
Over time, you start building a set of features that fit how you actually work. Not generic features, but tools that solve your specific problems.
“Being able to build really specific features for the exact things I want to do, things that would’ve been dismissed as edge cases, means all of us ‘edge cases’ can now make exactly what we want.”
7. Give vector work a more organic feel
Clean vectors are great, until you need something that looks hand-crafted.
When everything is perfectly smooth, aligned, and mathematically precise, it can start to feel a bit lifeless, especially in illustration, lettering, or anything that’s meant to be more organic.
With a custom Roughen Curves feature created through Claude, you can add organic distortion to vector paths, introducing irregularities that make shapes feel more natural and less mechanical. It also generates a dialog box with adjustable controls, so you can fine-tune the effect as needed.
It’s especially useful for hand-drawn styles, weathered or eroded type, and organic textures. Anywhere you want to break away from perfect geometry and add a bit of character.
Spend less time on production, more time creating
These are just a few ways you can use Affinity and Claude to cut out the busywork.
The repetitive production tasks that eat into your day. The small manual steps that break your flow. Even the tools you wish existed, but don’t yet.
What’s really changed is how the work gets done. Instead of working through everything step by step, you can describe what you need and let Affinity handle the execution. The app starts to feel less like something you operate, and more like something that responds to you.
The Affinity AI Connector doesn’t replace the creative part. It clears the path to it, and gives you more freedom to shape the tools around how you work.
Getting started with Affinity and Claude
Ready to create your own features? Check out our Help Center guide to get started now; it will walk you through step by step.
We can’t wait to see what you create!


