12 travel photography tips to instantly improve your photos
Whether you're a beginner or experienced photographer, these 12 travel photography tips will help you plan better, shoot smarter, and capture more compelling images wherever you go.
1. Research locations before you go
The first step toward a successful travel photography trip is research, and you can do most of it online. The photographers we spoke with recommend Roadtrippers, Atlas Obscura, Google, Instagram, and local websites and blogs. Start looking for hidden gems and thinking about how you can capture the location in a new or different way, beyond the clichés.
2. Find unique travel photography spots with Google Earth
The research phase also includes visualization and planning. “Undoubtedly, Google Maps and Google Earth are the fastest and cheapest resources for finding unique locations to shoot,” says adventure travel photographer Matt Horspool. This is even more valuable when documenting remote locations where others may not have ventured.
“I’ll often scour the area using a satellite view to gain a general idea of the geography, then start looking at topographic maps to work out routes and viewpoints. It’s important to note that seasons can change drastically from when the Google Image was taken to when you are planning to visit. So take this into account, or you might be very disappointed to find the lake you were hoping to photograph no longer exists.”
"For my photography style, having a small but reliable camera system is paramount to me."
3. Start your journey into travel photography with a simple, lightweight setup
“Beginning photographers often get caught up in thinking the latest tech with the biggest camera sensor size will make their shots better,” Matt continues. “This is simply not true. In fact, it’s quite the opposite because they begin to rely on their gear rather than their creativity and eyes to find unique shots. For my photography style, having a small but reliable system is paramount to me moving fast over longer distances in all types of inclement weather. I can also fit a wider variety of lenses in my bag, meaning a wider variety of amazing shots.” Matt uses Olympus OM System OM-1 mirrorless, weatherproof cameras (he’s also an ambassador for the brand).
4. Scout your locations in daylight
Scouting your locations during the day is one of the most effective travel photography tips, especially for beginners who want to plan their shots and make the most of golden hour. Several of the photographers we interviewed highlight the transformative power of shooting during golden hour, when the light is soft, warm, and directional. The Los Angeles-based photographer Jessica Sample recommends scouting your location in advance, particularly when the light is not ideal, and then planning to return when it’s just right. “Always take a look in the other direction of your instinct – maybe some backlight or a different angle you hadn’t thought of could be interesting,” she suggests.
Jessica also relies on digital location-scouting tools to prepare for travel photography shoots. “I like to research locations using Google, Google Maps, and Instagram before I go, and then I save locations on my phone in Google Maps for later. Another app I use is Sun Seeker. It shows you the path and direction of the sun so you can find the ideal time to shoot a location. Sometimes, you don’t realize the sun is going to pass behind a mountain or building, and you will actually lose light earlier than you think.”
5. Cut glare with a polarizing filter
Filters are lightweight, easy to pack, and can make a significant difference in your travel photos. “My most-used tool besides a camera is a polarizer,” Jessica says. “I even like wearing polarized sunglasses so I can visualize what difference a polarizer would make for a photo. To cut the glare off water and get that beautiful ocean or pool color, it is essential. It’s also great with greenery and blue skies.”
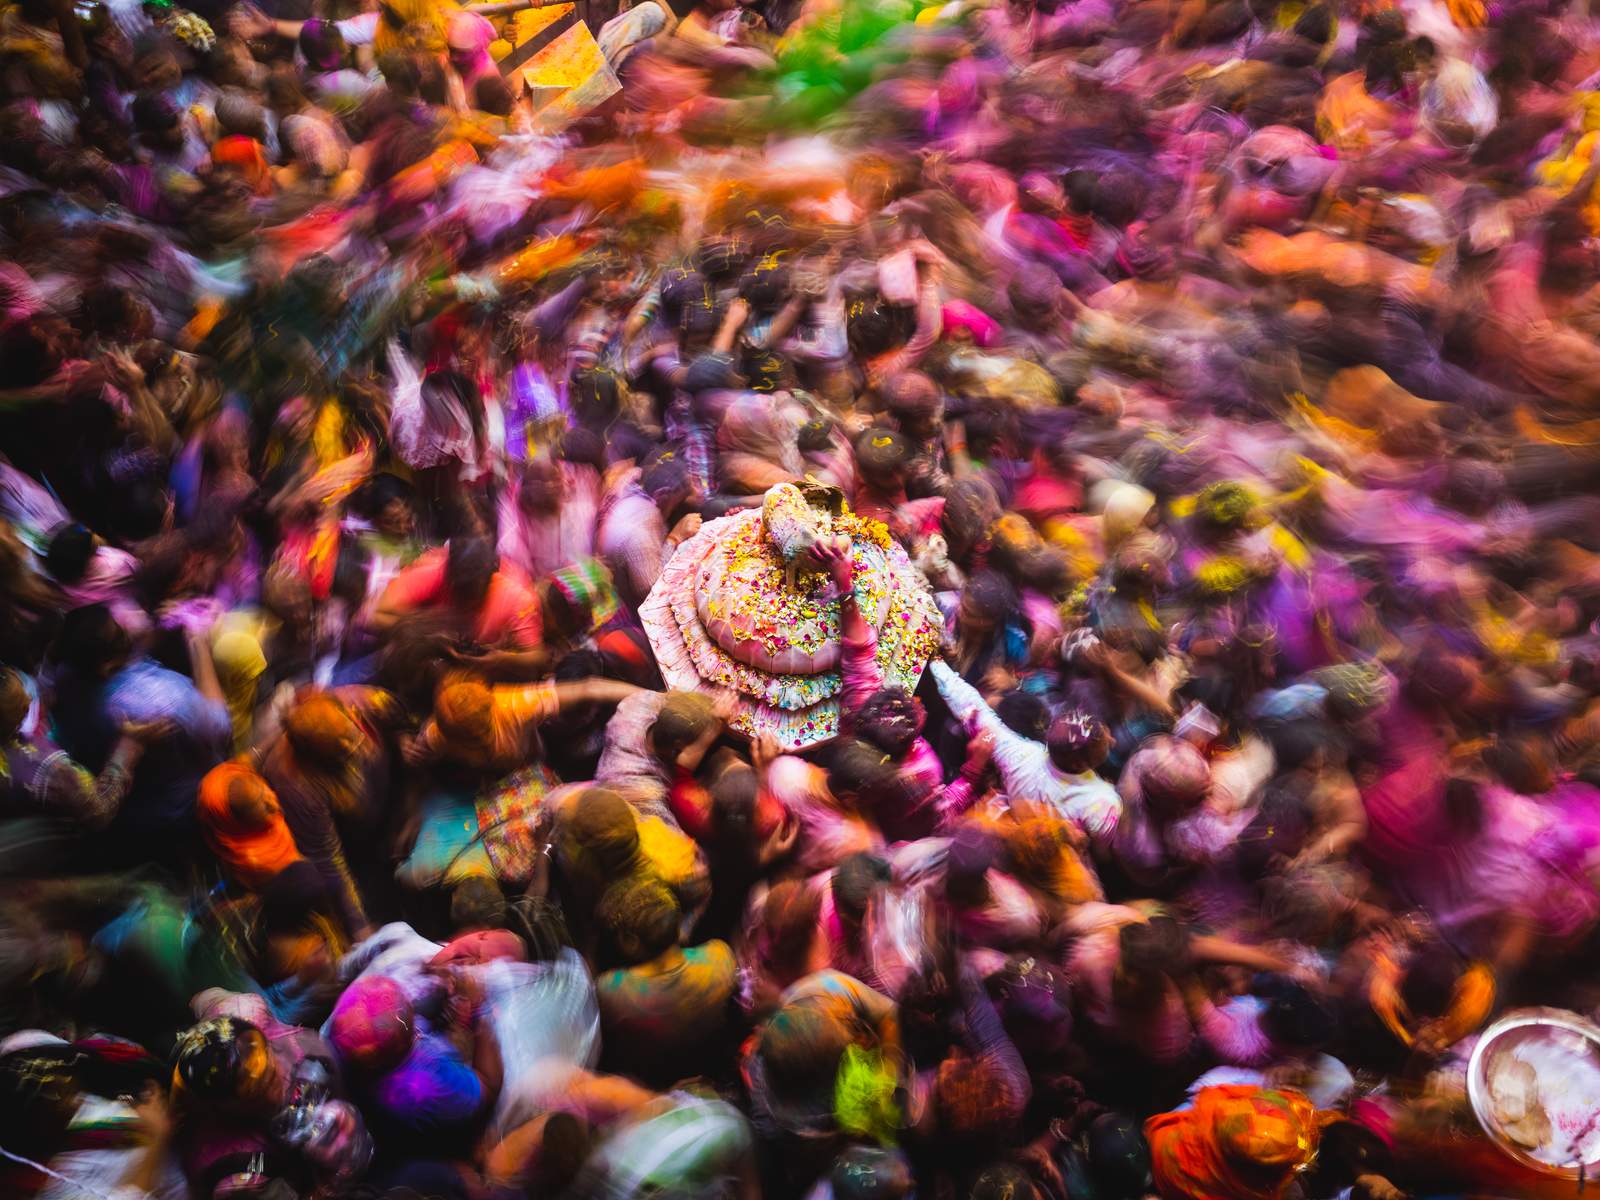
6. Don’t stay at eye level — explore unique angles and perspectives
One of the most impactful travel photography tips, especially for beginners, is to experiment with different vantage points to create more dynamic and engaging images. “Having authored one of the first-ever books on drone photography, I am a huge advocate for the use of perspective,” Chase Guttman, who specializes in travel and drone photography and videography, confesses. “The angle you use to portray a scene can dramatically impact its effectiveness – seeking unusual perspectives can help expand the visual repertoire of your frame, and often it presents distinctly graphic designs, reflections, and patterns.
“To me, perspective is what often separates an average snapshot from a strong visual statement. Enthusiasts often shoot from a default standing position, rather than playing with height to contextualize a scene from above or getting low to the ground to discover mirrored reflections and make your subject loom large.”
To apply this in your own travel photography, look for balconies, rooftops, staircases, or ground-level angles that offer a fresh or unexpected view.
"To me, perspective is what often separates an average snapshot from a strong visual statement."
7. Use blue hour to capture atmospheric travel photography
Golden hour is often the most talked-about lighting in travel photography, but blue hour can be just as magical and useful for beginners looking to improve their images. “Before golden hour in the morning and after golden hour in the evenings, there is another special stage in the day’s light,” Chase explains. “This lesser-known period, called blue hour, is when vibrant blue hues take over the sky. Blue hour is wondrous because it’s one of the most reliable times when the lighting is exceptional.
“No matter the day’s weather – be it dense clouds, rain or snowfall – you can expect the heavens to fill with vivid indigo hues for blue hour. As a travel photographer, I use blue hour to ameliorate the effects of a dreary day. When you’re on the road or in a place for a short stretch of time, sometimes you just have to make pictures despite the weather. Blue hour gives you the perfect window to create the imagery that you need.”
Blue hour offers soft, even light that works beautifully for landscapes, cityscapes, and architectural details, making it a valuable time for capturing atmospheric travel photos. If you want to learn more about shooting during this time of day — as well as golden hour and twilight — check out our full guide: How to shoot golden hour, blue hour and twilight photos.
8. Learn how to turn bad light into strong storytelling
Golden hour and blue hour might be the best times for travel photography, but relying on them isn’t always realistic, especially when you’re traveling with a tight schedule. NYC-based editorial and fine art photographer Chris Sorensen cautions against assuming you’ll always be able to shoot in perfect light. “We all love beautiful light, and if we could shoot everything at sunrise or golden hour, we probably would,” he admits. “But the reality of most travel assignments is you’re sent somewhere with a long shot list and a limited number of days to get it all done, which means sometimes you’re going to have to be shooting in bad light, bad weather, and so on.
“You can try to minimize these challenges by scheduling things so you’re inside a museum or restaurant during midday or rain, but the crunch of needed shots and short time frames means at some point you’ll be outside with the sun directly overhead and have to get something good. So while you’ll often see recommendations to shoot in the morning and evening, you also need to be prepared to get good work midday and in bad light and weather.
“You can do that by embracing hard shadows to create more graphic or black and white images, using bad weather to make moodier images, or shooting pieces/parts of landmarks that still tell the story without showing it all in an unflattering light. Before you go, think about how you’d shoot a location on the shot list not just in ideal light, but what you’d do if you were there at noon or in rain. Because you might have to be.”
9. Slow down and look for unexpected scenes
Making time to wander is a simple way to discover authentic, unexpected moments that can elevate your travel photography. “On assignment, you usually have a pretty long shot list, which often already has the ‘hidden gems’ the writer has included in the article and limited time for exploring,” Chris says. “But you’re usually walking a lot from place to place and interacting with locals, so you often see things or get suggestions for things not on the shot list that you can add to expand the story. For personal trips, I also spend a lot of time wandering to give myself the possibility of stumbling upon things I wasn’t expecting.”
"With both assigned work and personal work, I'm talking with locals a lot to get their recommendations."
10. Use local insight to find great locations
Chris also recommends chatting with locals for suggestions and insights. “With both assigned work and personal work, I’m talking with locals a lot,” he says. “I’ll reach out beforehand to friends or friends of friends who have been or lived someplace to get their recommendations. Extensive and thoughtful research goes a long way toward making sure you’re at the right place at the right time, but the best resource for finding spots is embracing the serendipity that comes from meeting locals in the know.”
London-based food, travel, and culture photographer Joanna Yee also encourages supporting local businesses. “For personal travel, I enjoy going on food or photography tours, which have been great resources for finding popular spots and hidden gems,” she tells us. “You can’t beat local knowledge. Also, it’s a great way to support the local community.”
Connecting with locals not only helps you discover places you might never find online, it also leads to more meaningful, authentic travel photos.
11. Expand your travel photography style
To become a stronger travel photographer, it helps to explore different types of photography rather than focusing only on landscapes or cityscapes. “One thing I see sometimes is photographers wanting to get travel assignments but only having landscapes and cityscapes in their portfolios,” Chris tells us. “Those definitely qualify as travel photography, and you can get assignments doing that. But for the feature work I typically do, you need to be good at and show more types of photography. Telling the story of a place does require landscapes and cityscapes but also portraiture, food photography, architectural photography, lifestyle, documentary, and street photography. It’s part of why I love travel photography – getting to shoot so many different things in different ways. It never gets boring.”
Developing a range of skills not only strengthens your portfolio but also helps you capture a fuller, more compelling story of every destination.
12. Don’t forget to capture detail shots
“Everyone gets those grand landscape/cityscape shots and the cute storefronts, and those are important,” Joanna says. “But don’t forget to also capture the details and the people in order to convey a deeper sense of place.” These details might be the view from your hotel window or rearview mirror, a close-up at a farmer’s market, a pop of color on the street, a candid portrait on the tram, or anything else that catches your eye. Capturing these details — textures, colors, expressions, everyday interactions — adds depth to your visual storytelling of the destination.
Conclusion
Great travel photography starts with curiosity, preparation, and a willingness to explore beyond the obvious. It also means embracing whatever conditions come your way, whether it's bright sunshine, rain, or overcast skies, and finding creative ways to tell the story in any light. With these expert tips in your toolkit, you’ll be ready to uncover new perspectives, stay open to the unexpected, and capture the moments that truly make each place unforgettable.
About the contributor
Feature Shoot showcases the work of emerging and established photographers worldwide, highlighting those transforming the medium through compelling, cutting-edge projects, with contributions from writers from all over the world.


